How to Light Food Photography Like a Pro (Without Breaking the Bank or Your Sanity)
- Ibrahim Doodhwala
- Jul 8, 2025
- 5 min read

Let's be honest – we've all been there. You spend two hours crafting the perfect avocado toast, arrange it just right, pull out your camera, and somehow it ends up looking like a sad, grey blob that wouldn't even make it onto a discount diner menu. The culprit? Lighting. It's the difference between "food porn" and "food... please don't."
As someone who's spent years perfecting the art of food photography in Dubai's unique lighting conditions, I've learned that mastering lighting is what separates amateur snapshots from professional photography that makes people stop scrolling and start salivating.
Why Lighting is Everything in Food Photography
Think of lighting as the makeup artist for your food. Just like how the right foundation can make someone look fresh and glowing, proper lighting can make a simple bowl of pasta look absolutely irresistible. Bad lighting, on the other hand, can make even the most expensive dish look like cafeteria leftovers.
Professional food photographers understand that lighting isn't just about making things visible – it's about creating mood, texture, and that mouth-watering appeal that makes viewers want to lick their screens (please don't actually do that).

The Golden Rules of Food Photography Lighting
1. Natural Light is Your Best Friend (Most of the Time)
Window light is like that reliable friend who always shows up when you need them. It's soft, flattering, and free – three things we all love. The key is finding the right window at the right time.
Here in Dubai, we're blessed with abundant natural light year-round, but that intensity can be both a blessing and a curse. The best food photography happens when you harness that light properly.
Pro tip: North-facing windows provide the most consistent, soft light throughout the day. If you're stuck with a south-facing window (common in Dubai apartments), you'll need to diffuse that harsh desert light with a sheer curtain or some parchment paper (yes, the same stuff you use for cookies).
2. Avoid Direct Sunlight Like It's Your Ex
Direct sunlight might seem bright and cheerful, but it's the enemy of food photography. It creates harsh shadows that make your beautiful dish look like it's been interrogated under a police spotlight. Nobody wants their lasagna to look like it's confessing to crimes.
This is especially crucial for commercial food photographers working in Dubai's intense sun. The key is finding that sweet spot of bright but diffused light.
3. The Magic Hour Isn't Just for Landscapes
That golden hour photographers rave about? It works for food too. The soft, warm light about an hour before sunset can make even leftover pizza look gourmet. Just don't wait too long – nobody wants to eat cold food for the sake of photography.

Artificial Lighting: When Mother Nature Doesn't Cooperate
Sometimes natural light just isn't available. Maybe you're shooting at night, or your kitchen faces a brick wall, or you're an event photographer who needs to capture food in less-than-ideal venues. That's when artificial lighting comes to the rescue.
LED Panels: The Consistent Performer
LED panels are like the Swiss Army knife of food photography. They're adjustable, consistent, and won't heat up your carefully arranged cheese platter. Professional food photographers swear by them because they offer the control that natural light sometimes lacks.
Budget-friendly option: A simple LED panel with a diffuser can cost less than a fancy dinner and will serve you for years. It's especially useful for lifestyle product photography where you need consistent lighting across multiple shots.
Softboxes: The Gentle Giant
Softboxes create that dreamy, even light that makes food look like it's floating on clouds. They're perfect for product photography where you need to eliminate harsh shadows completely.
The Dubai Challenge: Working with Intense Light
Living and working in Dubai presents unique challenges for food photography. The intense desert sun can be overwhelming, but it also offers opportunities that photographers in cloudier climates can only dream of.
The Dubai advantage: Our consistent sunshine means you can plan shoots knowing you'll have light. The trick is learning to work with it rather than against it.
Managing intensity: Use multiple layers of diffusion. A sheer curtain followed by a white sheet can turn harsh Dubai sunlight into beautiful, soft illumination perfect for commercial food photography.
Lighting Setups That Actually Work
The One-Light Wonder
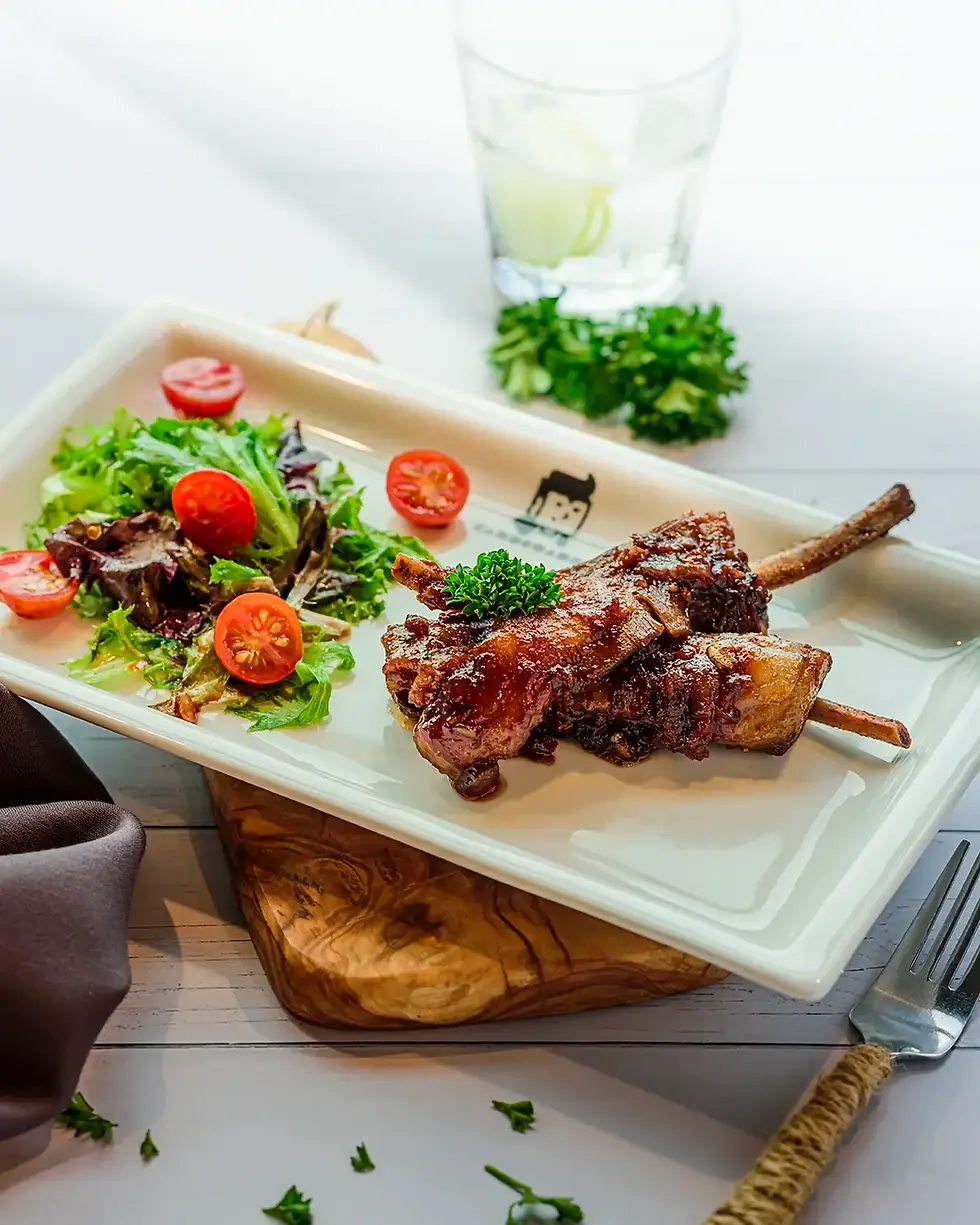
Perfect for beginners and professional photographers alike. Place your main light source (window or LED panel) at a 45-degree angle to your food. Use a white card or foam board on the opposite side to bounce light back and reduce shadows.
The Rim Light Setup
Add a second light source behind your food to create a subtle glow around the edges. This technique is gold for lifestyle product photography where you want to separate your subject from the background.
The Overhead Hero
Popular on Instagram and perfect for flat lays. Position your light source directly above your food setup. This works especially well for dishes with interesting textures and colors.

Common Lighting Mistakes (That Even Pros Make Sometimes)
The Flash Disaster: Built-in camera flash is food photography's worst enemy. It creates flat, lifeless images that make everything look like evidence photos from a crime scene.
The Color Temperature Confusion: Mixing different light sources (like daylight and tungsten) creates color casts that make your food look unappetizing. Stick to one type of light source per shot.
The Shadow Negligence: Shadows can add drama and depth, but uncontrolled shadows just look messy. Always consider where your shadows fall and whether they enhance or detract from your image.
Tools Every Food Photographer Needs
You don't need to spend a fortune to get professional-looking results. Here's what actually matters:
Reflectors: White foam boards from the art store work just as well as expensive photography reflectors
Diffusion materials: Parchment paper, white sheets, or professional diffusion panels
A reliable light source: Whether it's a great window or an LED panel
Patience: The most important tool that money can't buy
Beyond the Basics: Advanced Lighting Techniques
Once you've mastered the fundamentals, you can start experimenting with more advanced techniques that separate good food photography from truly exceptional work.
Backlighting: Creates a beautiful glow, especially effective with translucent foods like honey, oils, or fresh herbs.
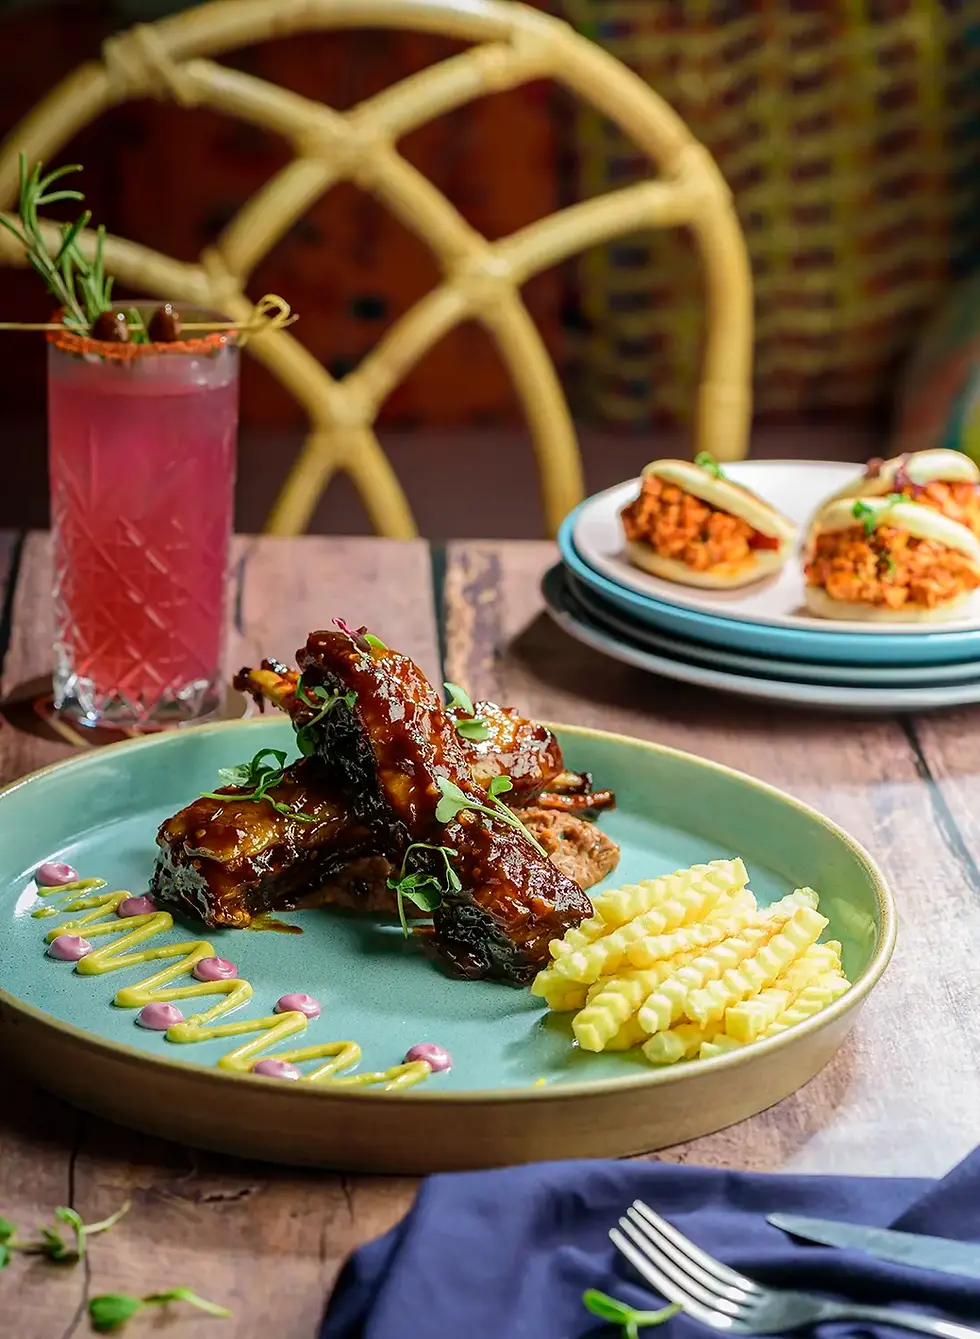
Side lighting: Perfect for showcasing texture in baked goods or the layers in a sandwich.
Dramatic lighting: Using stronger contrasts between light and shadow to create moody, restaurant-quality images.
The Professional Touch
What separates the best food photographers from the rest isn't just expensive equipment – it's understanding how light interacts with different foods and knowing how to manipulate it to tell a story.
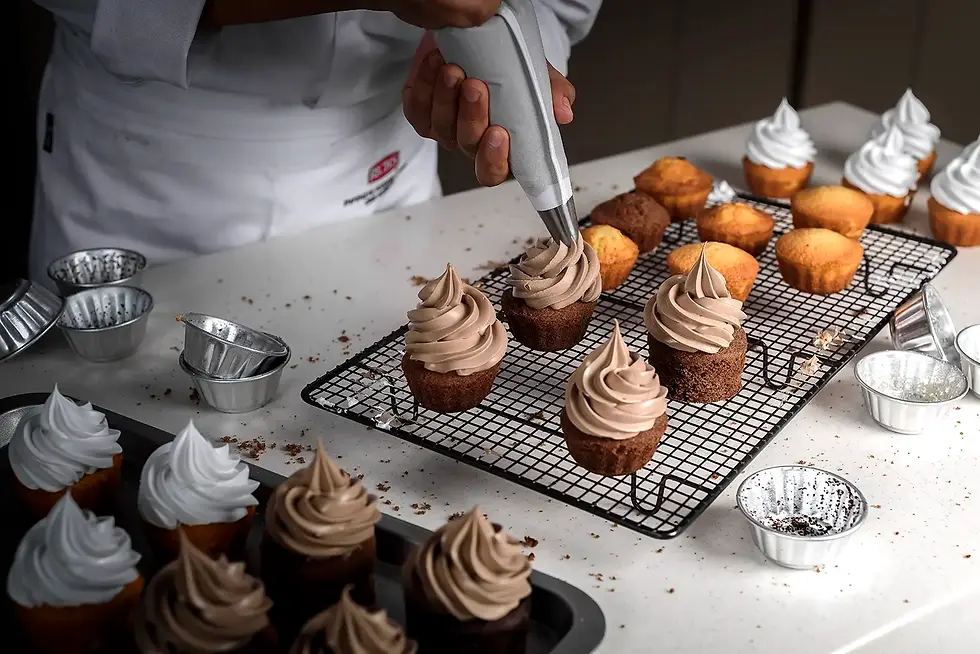
Whether you're shooting for a high-end restaurant, working as an event photographer capturing a wedding cake, or creating content for lifestyle product photography, the principles remain the same: good light makes good food look great, and great light makes good food look extraordinary.
Final Thoughts
Food photography lighting doesn't have to be complicated or expensive. Start with natural light, learn to see how different angles and intensities affect your food, and gradually build your artificial lighting toolkit as you grow.
Remember, the best food photography happens when the lighting feels natural and effortless, even when it's actually carefully planned and executed. Your goal is to make viewers forget about the technical aspects and just focus on how delicious everything looks.
And here's a secret from years of professional photography: sometimes the most beautiful light comes from the most unexpected places. That reflection off a white wall, the soft glow from a laptop screen, or the filtered light through a kitchen window – stay curious and keep experimenting.
Now go forth and make your food look as amazing as it tastes. Your followers (and your taste buds) will thank you.


Comments